WordPress to Jekyll (or how I learned to love markdown) - Part 1
As promised I’m going to give an overview of how I made the switch from WordPress to Jekyll as my blogging platform of choice. This will be spread over a couple posts, firstly I’ll cover why I made the change and the process of setting up Jekyll.
Why
My old blog was a run of the mill hosted wordpress.com blog (residing on danmrichards.wordpress.com) and it served me well at the time. I was fresh out of uni, learning a lot of new things at my first developer job and needed some way to keep track of my discoveries!
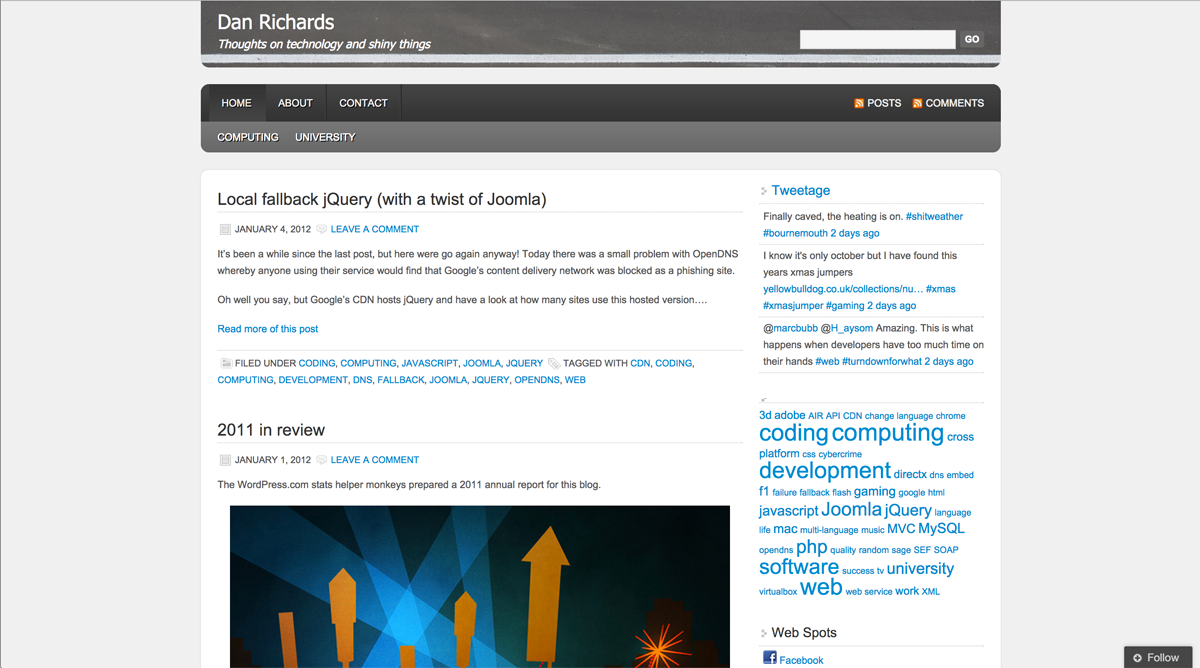 The old blog
Of course times changed and over the course of the next couple years I became a lot busier and the blog got left by the wayside. This was mostly due to the time it took to load up a browser, log in to wordpress, go to the posts manager and start writing. Enter Jekyll…
Jekyll
I was in search of a blogging platform that was customisable, easy to set up and most importantly allowed quick posting of content. Jekyll fills this role perfectly. For a bit of background, Jekyll is a Ruby gem that, at its' most basic level, takes a set of markdown files and coverts them into a static HTML blog. On top of this Jekyll uses a fully customisable set of templates, based on Liquid, to present the blog content. It also features an extensive API and plugin architecture.
The key reason I chose Jekyll was that it used markdown to store it’s post content, no databases and no clunky CMS screens. Markdown files are just plain text and as such can be created and edited in any text editor you can think of. I can be up and writing a post in a matter of seconds just by opening Sublime Text and hitting cmd+n.
As a quick aside I highly recommend the Jekyll package for Sublime Text (if thats your kind of thing).
Installation
Getting Jekyll up and running is dead simple; especially if you are a Mac user and have Ruby pre-installed on your system (if not visit https://www.ruby-lang.org/en/ to get started.).
Firstly ensure you have RubyGems (the Ruby package manager) installed by visiting http://rubygems.org/ and following the instructions.
Open up your terminal and install Jekyll using the following command:
gem install jekyllThen run this command to create your blog:
jekyll new blogChange into the directory created by Jekyll, which now contains the structure of the blog. Run this command to see what you’ve got:
jekyll serveAnd Bobs your estranged uncle who only seems to appear at funerals and weddings. Just visit http://localhost:4000 (or whatever the terminal output says) and you’ll have a shiny new blog to play with.
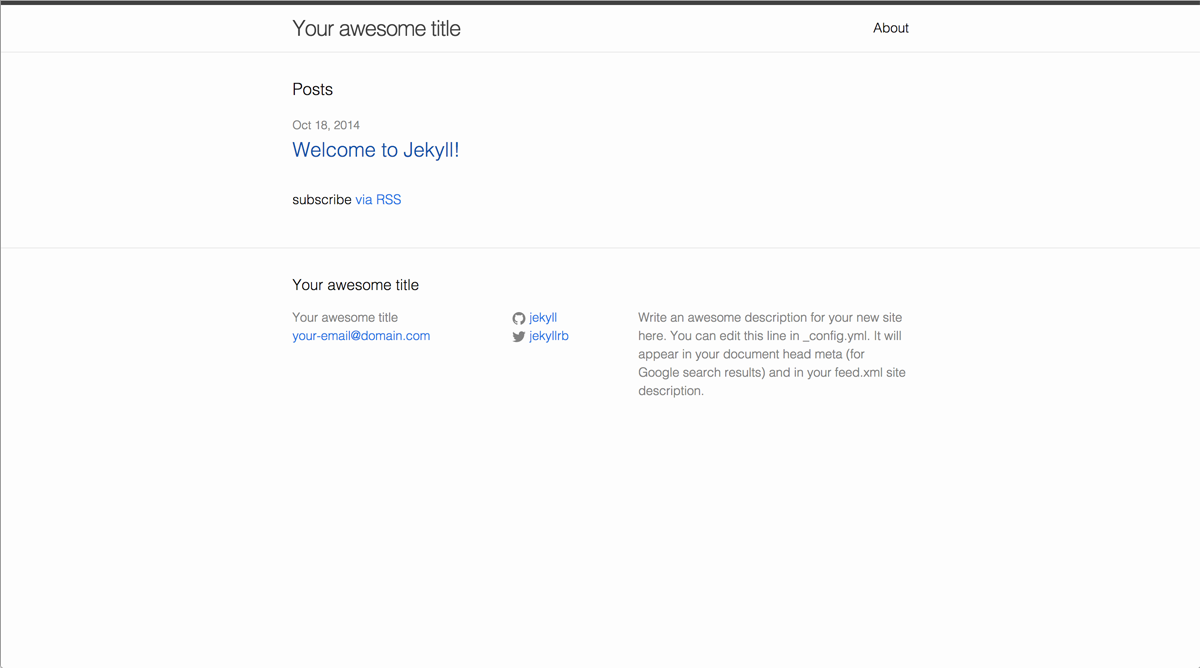 A brand new Jekyll blog
Have a look in the _posts folder of your new blog to see the markdown files. Adding a new fole or editing an exisitng file will automatically rebuild your blog if the jekyll serve command is still running.
Next time
In the next part I’ll discuss how I migrated all of my old blogs posts to Jekyll and set up this very blog the way you see it now.
Peace out.